
Introduction
Installing PVC fittings correctly is what determines whether a water pipe system stays leak-free, maintains pressure, and remains easy to service later. This guide walks through the process step by step, from choosing compatible fitting types and sizes to preparing pipe ends, applying primer and solvent cement, and making secure joints. You’ll also learn the basic material and specification checks that matter before assembly, so the instructions make sense in real-world plumbing work. With that foundation, the next sections break the job into clear stages you can follow from planning through final connection.
What are PVC pipe fittings and key material specifications
Polyvinyl chloride (PVC) pipe fittings are engineered components designed to change direction, branch, or alter the diameter of rigid PVC piping networks. In commercial and industrial water distribution systems, precise material specifications govern the selection of these fittings to ensure long-term hydraulic integrity. Understanding the fundamental material properties and dimensional standards is the critical first step before any installation begins.
Common fitting types and uses
The most frequently utilized PVC fittings in water systems include tees, elbows, couplings, reducers, and unions. Tees and elbows (typically available in 90-degree and 45-degree geometries) manage directional routing, while reducers transition flow between different pipe diameters to maintain optimal fluid velocity. Unions and flanges provide demountable connections, allowing for future maintenance of integrated equipment such as pumps and valves without requiring destructive pipe cutting.
Material, size, and compatibility requirements
Material selection dictates the pressure and temperature thresholds of the fluid system. Standard PVC is strictly rated for cold water applications with a maximum operating temperature of 140°F (60°C). Fittings are predominantly manufactured in two wall thicknesses: Schedule 40 (typically white) and Schedule 80 (typically gray). Schedule 80 fittings feature a thicker wall profile, granting higher pressure ratings and superior mechanical strength, making them mandatory for high-stress industrial applications. Compatibility requires that Schedule 80 fittings be used with Schedule 80 pipe, though they share the same outside diameter (OD) as Schedule 40, facilitating interoperability when properly engineered.
| Specification | Schedule 40 PVC | Schedule 80 PVC |
|---|---|---|
| Typical Color | White | Dark Gray |
| Max Temperature | 140°F (60°C) | 140°F (60°C) |
| Wall Thickness (2-inch) | 0.154 inches | 0.218 inches |
| Max Pressure (2-inch @ 73°F) | 280 PSI | 400 PSI |
Relevant standards and tolerances
To guarantee uniform interference fits, PVC fittings must conform to stringent dimensional tolerances. In North America, Schedule 40 socket fittings must meet ASTM D2466, while Schedule 80 socket fittings must comply with ASTM D2467. Threaded PVC fittings are governed by ASTM D2464. These standards dictate the exact tapering of the fitting socket, ensuring that the pipe bottoms out at the correct depth to create a capillary space of roughly 0.002 to 0.006 inches, which is mathematically optimized for solvent cement distribution.
How should professionals prepare for PVC pipe fittings installation
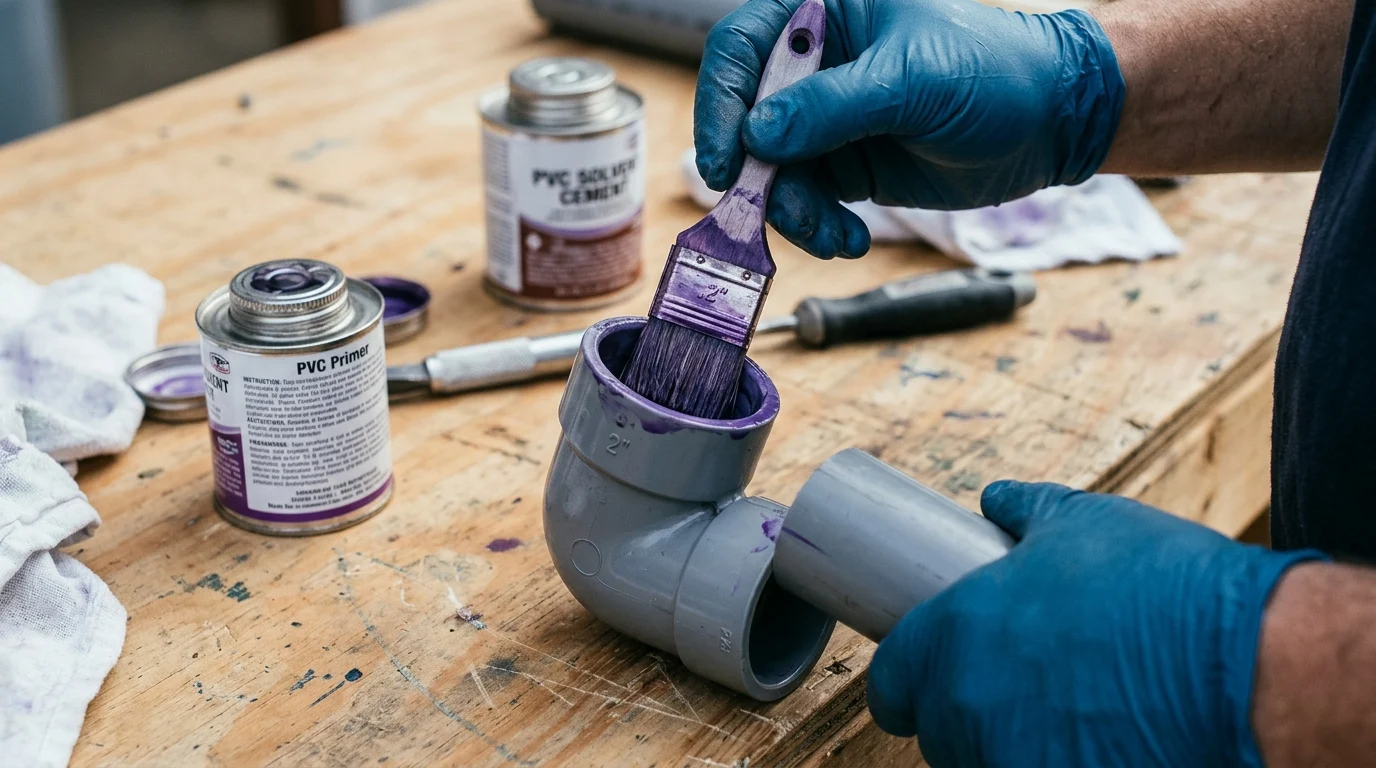
Systematic preparation minimizes assembly errors and mitigates the risks associated with premature solvent curing. Professional installers must establish a controlled work environment and verify all component tolerances prior to applying chemical bonding agents. Thorough preparation accounts for environmental variables that directly impact the solvent welding process.
Required tools, consumables, and site conditions
Proper installation requires dedicated pipe cutting tools, such as ratcheting shears or wheeled pipe cutters, to ensure perfectly square cuts. A specialized deburring and chamfering tool is mandatory for preparing the pipe ends. The chemical bonding process requires an aggressive primer compliant with ASTM F656 and a solvent cement compliant with ASTM D2564. Ideal site conditions feature ambient temperatures between 50°F and 90°F (10°C to 32°C). Installations outside this thermal window require specialized temperature-rated cements and modified application techniques.
Fitting selection, dry-fit checks, and insertion depth
Before any chemical application, professionals must conduct a dry-fit check. PVC sockets are manufactured with a slight taper; therefore, a dry pipe should enter the fitting socket easily for approximately 1/3 to 2/3 of its depth before encountering mechanical resistance (the interference fit). If the pipe bottoms out completely while dry, the fitting is out of tolerance and must be discarded. Once the dry-fit is verified, the installer should measure the socket depth and mark this insertion line on the pipe exterior (e.g., marking 1.5 inches from the end for a standard 2-inch fitting) to guarantee full insertion during the final assembly.
Safety and manufacturer instruction review
Solvent cements and primers emit volatile organic compounds (VOCs) that pose inhalation and flammability risks. Many standard PVC cements have a flash point as low as -4°F (-20°C). Professionals must ensure adequate cross-ventilation in confined trenches or mechanical rooms. Reviewing the manufacturer's technical data sheet (TDS) is critical, as it details the specific set and cure times for the chosen cement formulation, dictating how long the joint must be supported before handling. Appropriate personal protective equipment (PPE), including nitrile gloves and ANSI-rated safety goggles, is strictly required.
How is PVC pipe fittings installation performed step by step
The assembly of PVC pipe fittings relies on solvent welding, a process that chemically fuses the pipe and fitting into a single monolithic structure. Unlike mechanical threading or adhesive gluing, solvent welding temporarily dissolves the polymer chains on both surfaces, allowing them to entangle and solidify. Executing this process requires precise timing and technique.
Cutting, deburring, chamfering, and cleaning
The pipe must be cut squarely to ensure maximum surface contact at the base of the fitting socket; industry best practices dictate a cut tolerance of within 1/16 inch of perfectly square. After cutting, the inner diameter must be deburred to remove shavings that could restrict flow. Crucially, the outer diameter must be chamfered (beveled) at a 10 to 15-degree angle to a depth of roughly 3/32 inch. Skipping the chamfering step acts as a squeegee during insertion, pushing the solvent cement down into the fitting rather than allowing it to coat the joint interface. Finally, wipe the pipe end and socket with a clean, dry rag to remove all moisture and particulate matter.
Priming, solvent cementing, and assembly
Apply primer aggressively to the fitting socket, then the pipe end, and then the socket again. The primer softens the PVC surface by 0.001 to 0.002 inches, preparing it for fusion. While the primer is still wet, apply a heavy, even coat of solvent cement to the pipe end, followed by a lighter coat inside the fitting socket. Immediately insert the pipe into the fitting while rotating it a 1/4 turn. This rotation helps distribute the cement evenly and fills any microscopic voids. The pipe must be pushed until it reaches the fitting stop. Hold the joint firmly together for at least 30 seconds to prevent the tapered socket from pushing the pipe back out.
Curing, pressure testing, and inspection
The joint must remain undisturbed during the initial set time, after which it enters the curing phase. Full cure time is required before the system can be pressurized. Once fully cured, the system should undergo a hydrostatic pressure test at 1.5 times the intended working pressure or 150 PSI, whichever is greater, for a minimum of 2 hours.
| Pipe Size | Temp Range | Cure Time (<160 PSI) | Cure Time (>160 PSI) |
|---|---|---|---|
| 1/2" to 1-1/4" | 60°F – 100°F | 15 minutes | 6 hours |
| 1-1/2" to 2" | 60°F – 100°F | 30 minutes | 12 hours |
| 2-1/2" to 8" | 60°F – 100°F | 1.5 hours | 24 hours |
Why does installation quality affect PVC pipe system performance
The operational longevity of a PVC piping network is inextricably linked to the quality of the solvent welds at each fitting. A properly executed joint achieves 80% to 100% of the burst strength of the pipe itself. Conversely, procedural deviations drastically reduce mechanical integrity, leading to catastrophic blowouts or slow, progressive leaks under hydrostatic stress.
How joint preparation and curing affect leak resistance
Joint preparation directly dictates leak resistance. If the primer is omitted, the solvent cement cannot adequately penetrate the hardened polymer matrix, resulting in a superficial surface bond rather than a true chemical weld. Such joints may survive initial low-pressure testing but will inevitably fail under long-term hydraulic shock or thermal expansion. Similarly, failing to adhere to mandatory curing schedules compromises the joint. A 2-inch joint that requires 12 hours of curing at 60°F might only possess 20% of its rated pressure capacity if tested after just 2 hours, leading to micro-fissures in the interstitial cement layer that manifest as weeping leaks.
Project conditions that increase installation risk
Environmental project conditions significantly elevate installation risk and require procedural adjustments. High ambient humidity (exceeding 60%) introduces moisture to the joint interface, which can precipitate the polymers in the cement and weaken the bond. Under these conditions, manufacturers mandate extending the standard cure time by at least 50%. Conversely, installations performed in freezing temperatures slow the chemical evaporation rate of the solvents. In sub-freezing conditions, installers must utilize specialized cold-weather cements and may need to extend curing times to 48 hours or more before subjecting the system to high-pressure operational loads.
How do you inspect and troubleshoot PVC pipe fittings installation
Quality assurance protocols are essential for verifying the integrity of a newly installed PVC piping system before it is concealed behind walls or buried in trenches. Field inspection and troubleshooting identify defective joints before the system is commissioned, mitigating the risk of costly water damage and operational downtime.
Signs of poor installation in the field
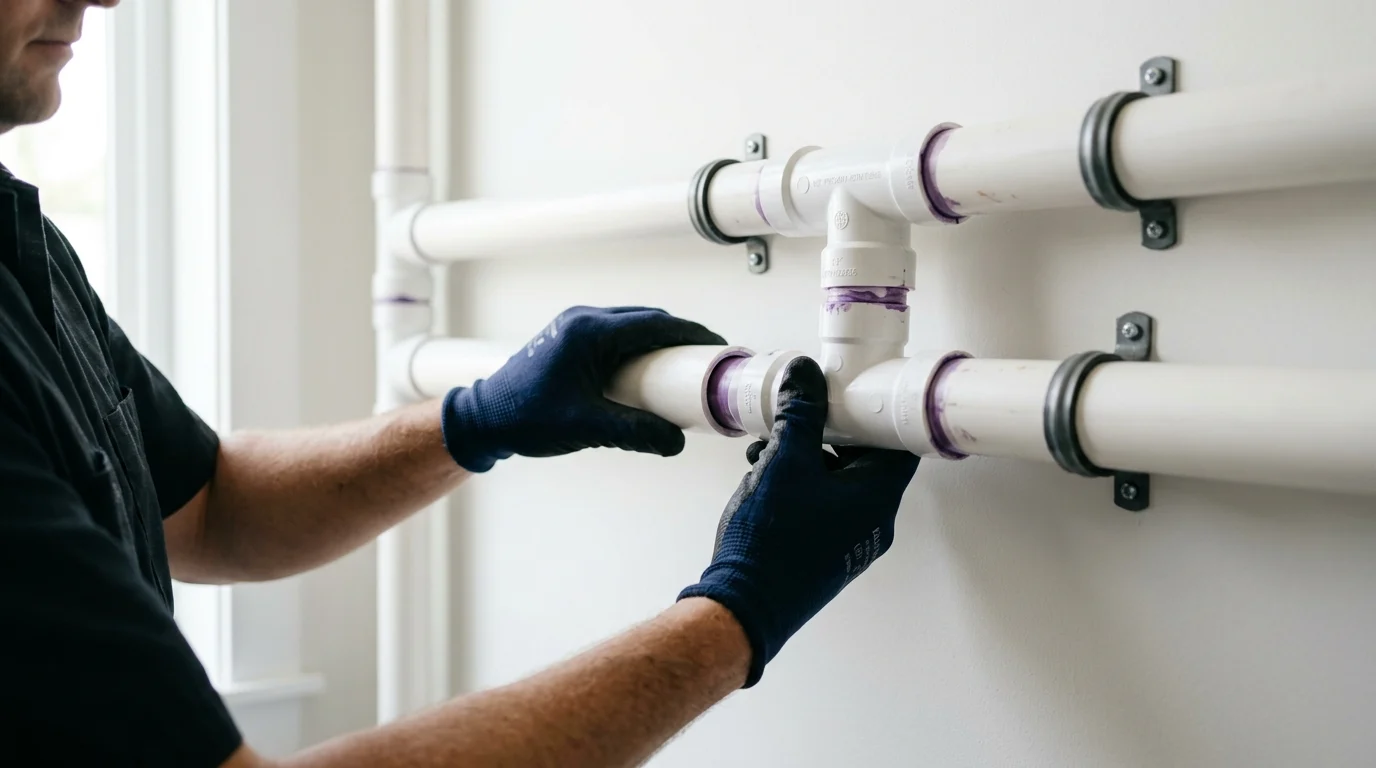
Visual inspection is the primary method for identifying poor installation in the field. A properly solvent-welded joint will display a continuous, unbroken bead of cement around the entire circumference of the fitting hub. If the bead is uneven, missing in sections, or excessively thick (indicating over-application), the joint is suspect. Furthermore, the use of purple primer leaves a visible stain; the absence of this stain at the joint interface strongly suggests the critical priming step was bypassed. Installers must also check for angular deflection; a pipe inserted into a fitting at an angle greater than 1 degree off-axis indicates severe binding and asymmetric solvent distribution.
When to repair or replace fittings
Unlike threaded metallic pipe, solvent-welded PVC fittings cannot be disassembled, adjusted, or re-glued once the chemical fusion has occurred. If a joint leaks during hydrostatic testing or exhibits severe visual defects, it must be completely replaced. Attempting to patch a leaking PVC joint with external epoxies or additional cement is a code violation and will fail under pressure. The standard repair procedure involves cutting out the defective fitting, removing at least 2 inches of pipe on either side of the hub, and splicing in a new fitting using appropriately sized couplings or union joints.
Final inspection checklist
Before finalizing the installation, professionals execute a comprehensive checklist. This includes verifying that all pipe runs are properly supported to prevent sagging and stress on the fittings; for example, standard building codes typically require hangers every 5 feet for a 2-inch Schedule 40 PVC pipe. The checklist must also confirm that insertion depth marks align with the fitting hubs, ensuring no pipes were shallowly inserted during rapid assembly. Finally, the inspector must review the hydrostatic test logs to confirm the system held its test pressure (e.g., 150 PSI) without any gauge drop over the designated minimum holding period.
Key Takeaways
- The most important conclusions and rationale for PVC pipe fittings installation
- Specs, compliance, and risk checks worth validating before you commit
- Practical next steps and caveats readers can apply immediately
Frequently Asked Questions
What PVC fitting types are most common in water pipe installation?
Common types include elbows for direction changes, tees for branching, couplings for joining straight runs, reducers for size transitions, and unions for easy maintenance around pumps or valves.
How do I choose between Schedule 40 and Schedule 80 PVC fittings?
Use Schedule 40 for standard cold-water systems and Schedule 80 for higher pressure or tougher industrial conditions. Match fittings to your pipe specification and confirm pressure ratings before installation.
Why is a dry-fit check important before gluing PVC fittings?
A proper dry fit confirms the pipe enters about 1/3 to 2/3 of the socket before resistance. If it slides fully in dry, the fitting may be out of tolerance and should not be used.
What tools and materials are needed to install PVC pipe fittings correctly?
Use a pipe cutter, deburring/chamfering tool, ASTM F656 primer, and ASTM D2564 solvent cement. These help create square cuts, clean edges, and a reliable solvent-welded joint.
Can Pntek help source complete PVC water pipe systems for projects?
Yes. Pntek supplies PVC pipes, fittings, valves, and related plastic flow products for irrigation, construction, and water supply projects, with quote support for integrated system needs.


